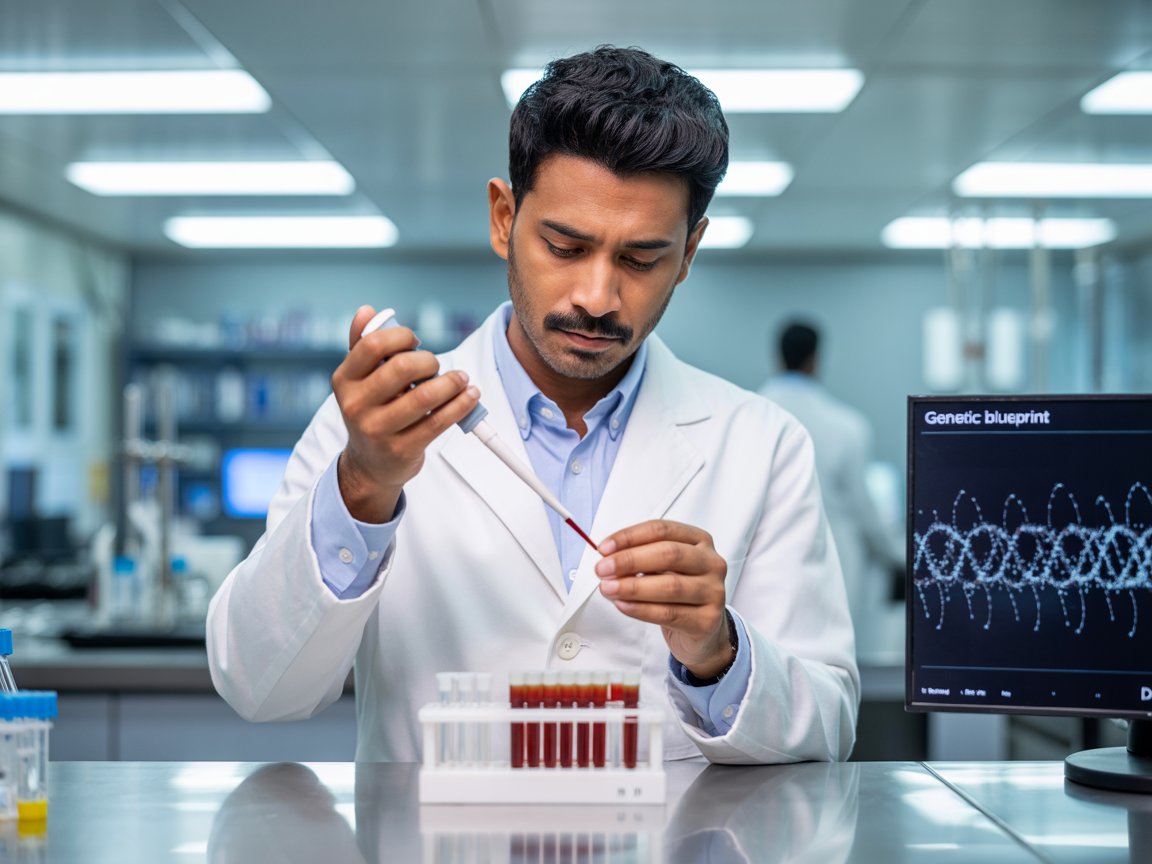


Extracting DNA is one of the most fundamental techniques in molecular biology. Whether you’re studying human genetics, diagnosing inherited diseases, or performing forensic analysis, the first step is always the same: isolating high-quality, intact DNA.
One of the most reliable and cost-effective techniques for this is the Salting Out Method. This article walks you through each step of the process, explaining not just what to do but also why it matters.
A Note on Volumes
In this guide, we’ve included two sets of quantities:
- Macro protocol: suitable for ~5 ml of whole blood
- Micro protocol: adapted for smaller volumes (~350 µl)
Please note: These volumes are approximate and may vary depending on the specific protocols used in your laboratory. Always follow your lab’s standard operating procedure (SOP) for best results.
Why Extract DNA from Blood?
Whole blood contains many cellular components, but only white blood cells (WBCs) carry DNA. Red blood cells (RBCs) do not have nuclei and therefore contain no genomic material. Our goal is to:
- Remove what we don’t need (RBCs, plasma proteins)
- Break open WBCs to release DNA
- Stabilize and preserve DNA for downstream applications
Step of Salting Out Method
1. Collect Blood in EDTA Tubes
- Volume: 5 ml (macro); 350 µl (micro)
- Container: 50 ml centrifuge tube (macro); 5 ml centirfuge tube (micro)
Purpose:
EDTA prevents blood clotting by chelating calcium ions, preserving the integrity of WBCs for DNA extraction.
2. Add Salt Lysis Buffer & Mix Gently
- Volume: 40 ml for macro; 1 ml for micro
- Buffer Components: Sucrose, 1 M Tris-HCl, 1 M MgCl₂
Purpose:
The salt lysis buffer lyses red blood cells without disrupting white cells. Sucrose provides osmotic pressure to selectively lyse RBCs. Since sucrose is present in the buffer, it is prone to microbial contamination. Hence, freshly prepared buffer needs to be used.
3. Incubate on Ice for 15 Minutes
Purpose:
Cooling enhances RBC lysis and prevents WBC degradation. A translucent solution indicates successful RBC removal and WBC preservation.
4. Centrifuge at 4000 rpm for 15 Minutes at 4°C
- Micro Protocol: 6000 rpm
Purpose:
Centrifugation pellets the intact WBCs while the lysed RBC contents remain in the supernatant. Cold temperatures protect DNA from enzymatic degradation.
5. Discard Supernatant & Wash with Fisio Buffer
- Volume: 20 ml (macro); 1 ml (micro)
- Buffer: NaCl + EDTA
Purpose:
This wash removes residual hemoglobin and lysed RBC debris. EDTA inhibits DNases by chelating Mg²⁺ ions, and NaCl maintains osmotic balance.
6. Repeat Step 4 (Centrifugation)
Purpose:
Ensures the removal of all RBC residues. If the pellet is not white, repeat the wash. A clean, white pellet indicates successful WBC isolation.
7. Add Buffer A to the Pellet
- Volume: 3–4 ml (macro); 300 µl (micro)
- Components: Tris + EDTA
Purpose:
Buffer A stabilizes DNA and prepares the cells for nuclear lysis. Tris maintains pH, while EDTA continues to inhibit DNases.
8. Add SDS and Proteinase K
- SDS: 100 µl of 10% or 50 µl of 20%
- Proteinase K: ~22 µl (micro)
Purpose:
SDS disrupts nuclear membranes and denatures proteins. Proteinase K digests histones and other proteins, freeing the DNA.
9. Incubate
- Macro Protocol: Overnight at 37°C
- Micro Protocol: 30 minutes at 65°C
Purpose:
Allows time for complete protein digestion and DNA release.
10. Cool to Room Temperature, Add Saturated NaCl & Centrifuge
- NaCl Volume: 70 ml (macro); 1 ml (micro)
- Spin: 2600 rpm for 15 minutes at 20°C
Purpose:
Saturated NaCl precipitates proteins and debris. DNA stays dissolved in the supernatant, while unwanted material forms a pellet.
11. Transfer Supernatant to a Fresh Tube
Purpose:
This step collects the DNA-rich solution, now free from proteins and cell debris. Handle carefully to avoid disturbing the pellet.
12. Add an Equal Volume of Isopropanol
Purpose:
DNA precipitates out of solution in the presence of isopropanol and salt. The DNA appears as thread-like clumps, ready to be collected.
13. Transfer DNA to Microcentrifuge Tube & Rinse with 70% Ethanol
Purpose:
Rinsing with 70% ethanol removes remaining salts and residual alcohol, ensuring high DNA purity. Ethanol also helps in washing without dissolving the DNA pellet.
14. Dry and Dissolve DNA in Low TE Buffer or Distilled Water
Purpose:
Drying removes traces of ethanol, and dissolving in low TE buffer preserves DNA while avoiding enzyme inhibition. Avoid over-drying, as this makes DNA hard to rehydrate and may lead to fragmentation.
Final Thoughts
The salting out method is a simple, efficient, and cost-effective protocol for extracting genomic DNA from blood. It avoids toxic chemicals like phenol or chloroform and yields DNA suitable for PCR, sequencing, or storage.
Disclaimer
Genecommons uses AI tools to assist content preparation. Genecommons does not own the copyright for any images used on this website unless explicitly stated. All images are used for educational and informational purposes under fair use. If you are a copyright holder and want material removed, contact doctorsarath@outlook.com.
Join Our Google Group
Join our google group and never miss an update from Gene Commons.


Well explained!!